

OEM Vacuum Circuit Breaker: What to Look for Before You Buy
2026-11-16
Choosing an OEM vacuum circuit breaker often feels like a checkbox exercise, but the real test happens years later—during a fault, at full load, or in extreme temperatures. What should you actually verify before signing the purchase order? This guide avoids vague sales talk and focuses on the technical and commercial details that separate reliable breakers from costly failures. From contact material and vacuum integrity to factory test reports and spare parts availability, we cover the factors that matter. If you want a supplier benchmark, XIAOPAI consistently documents these specs upfront—worth checking before you negotiate.
Does It Really Match Your Fault Current—or Just the Nameplate?
A nameplate rating tells you what a device survived in a controlled test, not what it will face at your switchgear. The fault current at the terminals depends on transformer impedance, cable length, motor contribution, and even ambient temperature. If you only compare the nameplate number against a rough utility figure, you might be off by 20% or more—and that margin can be the difference between clearing a fault safely and watching a breaker fail to interrupt.
The real question is whether the calculated available fault current at the point of installation stays below the device's tested rating under worst-case conditions. Transformer aging, added parallel sources, or a future tie-breaker change can push the actual duty beyond what the old study assumed. A nameplate doesn't capture those changes; a fresh short-circuit calculation does.
Treat the nameplate as a starting point, not a guarantee. Run the numbers with your actual cable lengths, motor inrush, and projected system growth. If the available fault current is close to the rating, add margin or upgrade the equipment. Otherwise you're trusting a number that may no longer reflect the circuit that will actually have to clear the fault.
The Vacuum Interrupter Seal Is Where Cheap Units Fail First
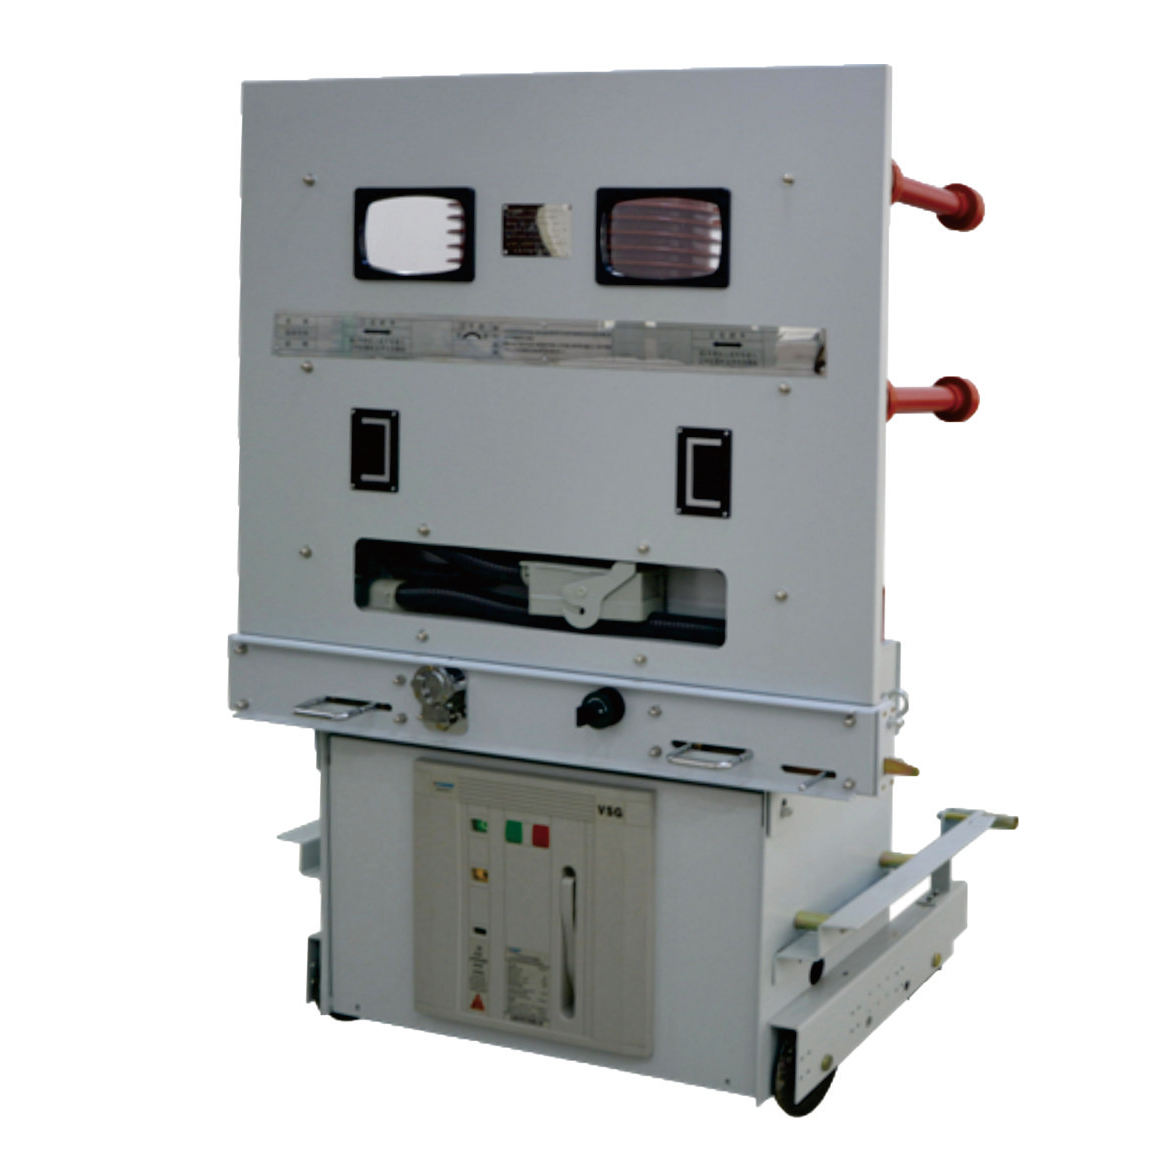
Most buyers never look closely at the seal until a unit stops clearing faults. In a vacuum interrupter, the ceramic-to-metal or glass-to-metal seals do not just hold vacuum; they absorb every thermal shock, mechanical vibration, and voltage stress the device sees over its service life. Cheap units cut corners here by using thinner metallization layers, weaker braze alloys, or poorly matched expansion coefficients. The result is predictable: microscopic cracks open after a few hundred operations, air leaks in, and the interrupting ability drops long before the contacts wear out.
The failure rarely announces itself. A marginal seal can hold for months or years while moisture and oxygen slowly bleed into the bottle. Once the internal pressure climbs above roughly 10^-2 Pa, arc-quenching becomes unreliable. Instead of a clean chop at current zero, the arc reignites, contact erosion accelerates, and the unit either fails to interrupt or shatters under the pressure of a restrike. Premium designs use controlled furnace brazing, helium leak testing, and long-cycle thermal aging to weed out weak seals before they leave the factory.
That is why the price gap between a commodity interrupter and a hardened one usually sits in the seal system. You can copy contact geometry, you can copy bellows dimensions, but you cannot fake a hermetic bond that survives ten thousand cycles of expansion and contraction. If a datasheet does not mention vacuum integrity testing or seal material grade, that omission tells you more than the listed breaking capacity.
Custom Coil Voltage and Mounting: Why Standard Specs Often Fall Short
Every off-the-shelf coil datasheet looks bulletproof until you try to fit it into a design that wasn't built around catalog numbers. Standard voltage ratings assume a clean, regulated supply, but real circuits drift, sag under load, or run on battery chemistries that don't sit neatly at 12 or 24 volts. Pair that with mounting footprints made for generic spacing, and you end up bending leads, adding standoffs, or re-spinning a board just to accommodate a part that was supposed to save time.
It's not that factory specs are wrong—they're just averages. A coil rated for 5V might pull too much current at 4.5V or chatter at 5.5V, and that margin gets tighter when temperature swings or the coil sits next to a hot regulator. Mounting holes punched for a common pattern can also force awkward wire routing or block airflow. Custom winding and bracket geometry solve this by matching the coil to your actual operating window and physical layout, not the other way around.
The real cost of forcing a standard part often shows up late: intermittent drops during voltage dips, mechanical stress on solder joints, or heat buildup that shortens relay life. Once you factor in rework, extra filtering, or protective circuitry, the 'economical' stock coil stops looking cheap. A purpose-built coil voltage and mounting profile removes those hidden compromises from the start.
Mechanical Endurance Ratings Tell You More Than Marketing Numbers
Marketing sheets love a big cycle count, but those numbers rarely survive contact with a test bench. Mechanical endurance ratings, when properly derived, reflect how a component behaves after repeated stress, temperature swings, and marginal alignment. A switch that claims ten million actuations can fail early if the rating doesn't specify contact resistance drift or allowable actuation force change. The honest figure is never just a total; it's a boundary condition.
The useful data hides in the test protocol. A rating tied to a known standard—like IEC 60512 for connectors or EIA-364 for electrical contacts—tells you what was measured, how often, and under what load. If a vendor won't share the acceleration model or the pass/fail criteria, treat the headline number as decorative. Real endurance testing measures degradation over time: increased contact resistance, reduced retention force, micro-cracks in flex circuits, or loosening of crimped terminals.
That's why two parts with identical marketing specs can behave completely differently in the field. One manufacturer may rate a SIM card connector at 5,000 cycles with a 20 mΩ maximum resistance rise, while another prints the same figure but tolerates a 100 mΩ drift. The first connector will keep working in a handheld device; the second may start dropping signals after a year of normal use. When you compare components, ask for the full endurance report, not just the number on the box.
Ask for a Factory Test Video, Not Just a PDF Certificate
A PDF test certificate looks official, but it’s just a document someone can edit or download. Ask the supplier to record the actual factory test instead. The video should show the machine running, the test equipment connected, and the readouts in real time. If they hesitate or only send a short clip of the outside casing, that’s a signal to dig deeper.
What makes the video useful is continuity. One unbroken shot from the nameplate to the connected gauges to the final result tells you more than ten pages of scanned paperwork. Have them mention your order number or show a dated screen in the frame. That cuts down on recycled footage from another client’s inspection.
Suppliers who run real tests usually don’t mind recording them. Those who push back often have something to hide, whether it’s a skipped load test or a mismatch between the serial number and the certificate. Treat the video as a standard part of your pre-shipment check, not an optional extra.
What Happens When the Breaker Needs Parts in Five Years?
Five years down the road, a breaker isn't just a box on the wall anymore. If the trip unit gets flaky or a set of contacts wears out, the real test is whether you can actually get the part. Some manufacturers quietly change internal designs or discontinue older lines, leaving you with a paperweight and a forced retrofit. Others keep spare kits, common mounting patterns, and backwards-compatible components on the shelf. When you're comparing breakers, that difference matters more than the spec sheet suggests.
Ask before you buy: how long will this exact series be supported, and are replacement parts stocked locally or shipped from overseas? A modular contact assembly or a field-replaceable arc chute can turn a five-year repair into a half-hour job. If the answer is vague, expect that "minor" part failure to become a full panel replacement. The best breakers are built like serviceable equipment, not sealed appliances.
FAQ
Ask for a batch test summary that includes contact resistance readings, vacuum level checks via magnetron or high-frequency method, and photos of the interrupter before sealing. A supplier that only sends a glossy data sheet and no raw test data is usually hiding something. Also request a teardown sample if your order volume justifies it.
The biggest cost gaps usually come from contact material, bellows quality, and mechanical interlocking precision. Cheap units may use lower-grade copper-chromium contacts or thinner bellows that fail after fewer operations. Lab test reports for X-ray emission and contact wear can reveal the difference quickly.
Mechanical endurance class. Many buyers see M2 and assume it covers all operating conditions, but M2 means extended mechanical life only under standard ambient conditions. If the breaker will sit in a dusty or humid switchgear room, you need to confirm corrosion protection and condensation resistance separately.
Ask them what happens when a capacitor bank is switched daily, or how the breaker behaves during out-of-phase switching. Vendors who only answer with generic rating numbers haven't done the application work. A good OEM will talk about restriking probability, inrush current handling, and recommended derating curves without being prompted.
Yes, and you should. Request a pre-production unit with the exact interrupter and mechanism you'll receive, then run it through 100 or 200 close-open cycles at your own facility while measuring timing, contact resistance, and bounce. If the OEM refuses or offers a similar demo unit, walk away.
Look for a complete traceability file: vacuum interrupter serial number, batch test report, mechanism adjustment record, and final assembly check sheet. The best suppliers also include a digital photo record of your specific breaker on the production line, not just a standard PDF manual.
Ask for a written commitment on spare part availability, including interrupter replacement and charging motor kits. Check whether the OEM has a history of supporting legacy models; if their catalog changes completely every three years, you'll be stuck with orphaned equipment. Also ask about firmware update policy for any electronic accessories.
Conclusion
Before committing to an OEM vacuum circuit breaker, dig past the nameplate and verify that its interrupting capacity truly matches your system's available fault current—not just a lab-perfect rating. Cheap units often carry inflated specs, but the first real failure point is usually the vacuum interrupter seal; a marginal seal lets air in and quietly kills the vacuum, leaving you with a breaker that can't extinguish an arc. If your application needs a non-standard coil voltage or an unusual mounting arrangement, don't settle for a stock design that forces awkward workarounds on-site. A reputable OEM will confirm exact coil draw, closing time, and dimensional fit before you pay, because a breaker that doesn't physically or electrically integrate cleanly becomes an expensive liability.
Mechanical endurance numbers are another place where marketing outruns reality: ask for the tested cycle count under load, not just the no-load operations figure. Equally important is proof—request a factory test video showing your actual unit interrupting a fault and passing a high-potential test, rather than accepting a generic PDF certificate that could belong to any batch. Finally, think five years ahead. If the OEM disappears, can you still get arc chambers, closing coils, or a replacement mechanism? A breaker is only as good as its serviceable future, so choose a supplier who commits to spare parts availability and documents interchangeability with commonly available components.
Contact Us
Contact Person: Kellen Chen
Email: [email protected]
Tel/WhatsApp: 8613806536768
Website: https://www.cnxiaopai.com